")


A view in ContentBuilder is a functional representation of the data source. In this article we are going to explain how to set up ContentBuilder view. There are two types of view creation – type ContentBuilder and type BreezingForms. In this case we are going to focus on type ContentBuilder.
CONTENT:
1. Getting started
Go to Views section in your ContentBuilder component and do following:
- Hit the green “New” button for new view creation.
- Fill in a descriptive view name
- Make sure your source “Type” is com_contentbuilder (we are going to use previously made data_storage example for this view creation)

- Choose relevant Data storage in Source drop down element
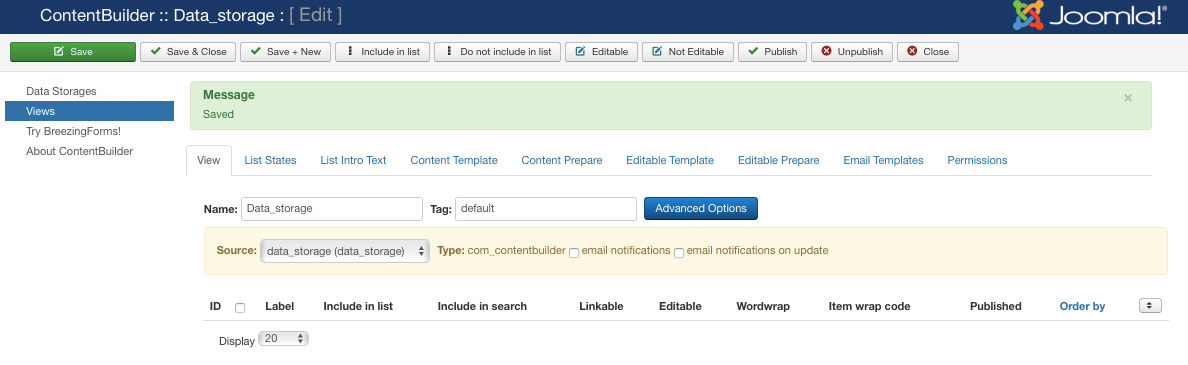
- Save all changes and you will see all your fields from previously made data storage
2. View section
Stay on View section for next steps.
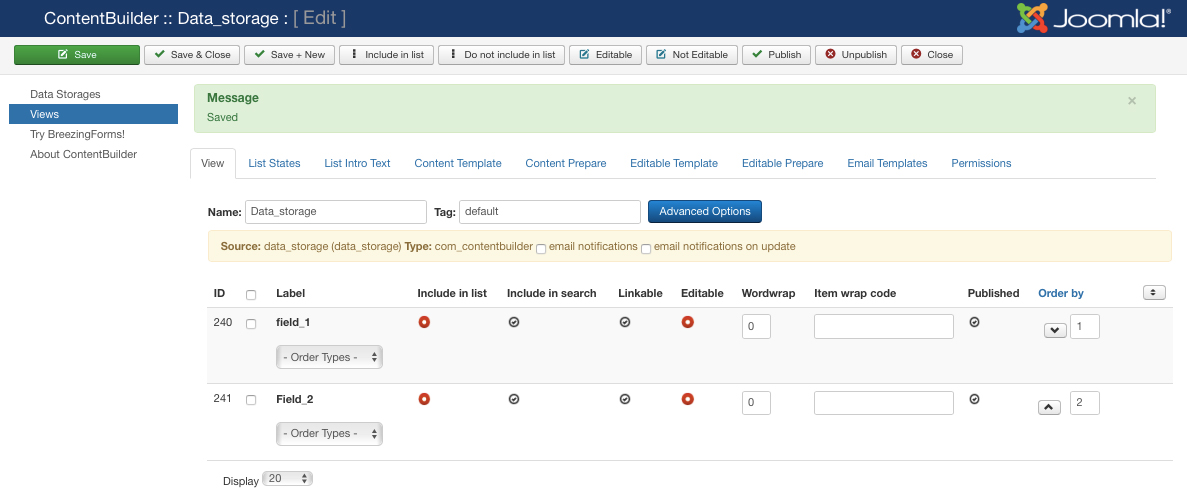
It’s important that you include fields you want to preview in Front end. You can do that in two ways – click on the red checkbox of field itself. The other way is to select all fields you want at once and use Include in list and Editable buttons
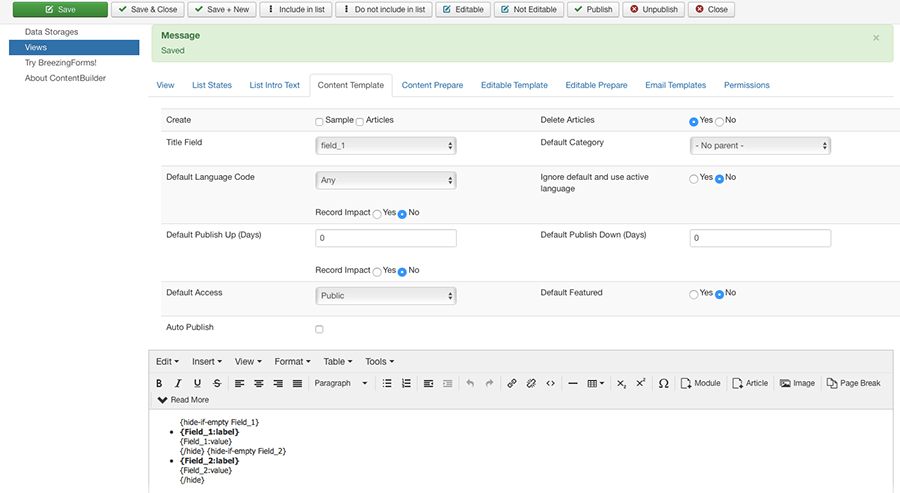
3. Content template
The Content template should provide the layout for the content of this view. Content can be either a details page from the list or a Joomla!® content item (article).
Setting up the first section (section Create) of Content template is crutial step if you want your view to work properly. The setup is following:
- In Create section -> Sample -> choose option Sample. Click on Save button to save all changes and to finish sample creation step.
- „Create Articles“ is optional regarding your needs: using „no“ will not generate content items (articles) based on the records from your data source but use the template only for details of a list.
- „Delete Articles“: if selected, all articles associated with the deleted record(s) will be deleted as well.
After you created sample go to the Editable template.
4. Editable template
Here you have only one option - to create an editable sample. On sample creation, it will generate all necessary html code to display a form.
You may adjust the code to create custom layouts, while the selected theme plugin serves the stylesheets. The sample code is provided by the selected theme plugin, defined in the view tab.
This option is not available when „edit by type“ is enabled (for example is BreezingForms is in use)
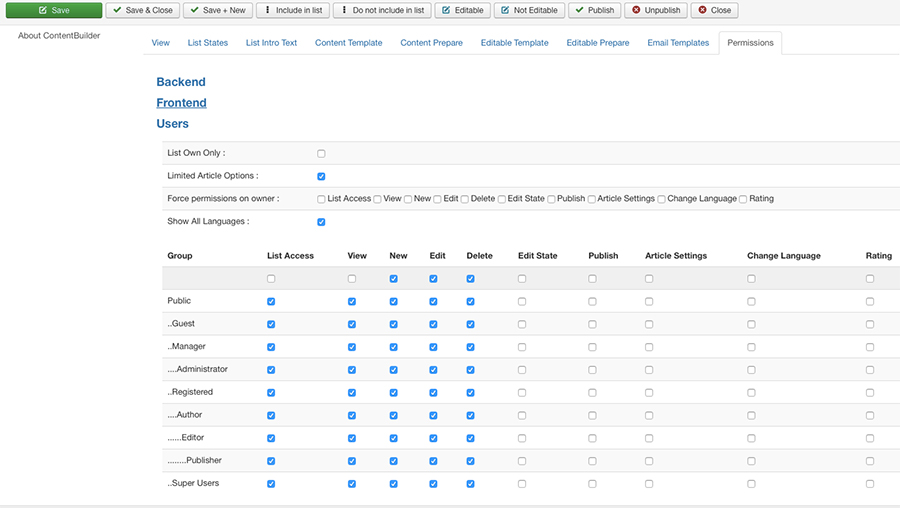
5. Permissions
Setting up permissions is the next step. Set user and group based permissions for created view. For example you can set following for basic view manipulation:
- „View“: allow to view a record. The same rule will apply to generated articles – not just the details from a list.
- „New“: allow to add new records.
- „Edit“: allow to edit records.
- „Delete“: allow record deletion.
In our example we enabled view for all user groups so everyone can view records, edit them, add new ones or delete them.
Last step is going to be publishing your View trough menu item. Read more about publishing your View on the frontend HERE.
Also, for more detailed information about VIEWS read more HERE.